Get ready to unlock your creative potential swith Craft Designer. This Article will help you navigate and utilize the many features of this amazing tool effectively. Let’s start your journey to creating exceptional designs!
Getting Started: Importing Images into Craft Designer
To begin your design journey, start by importing an image into Craft Designer. You have two convenient options:

Import Image from Your Computer:
Simply click on the 'Import' button and select the desired image file from your local storage.
Import Image from the Generator:
Use images you've previously created with Illustrate AI. Click on the 'Import from Illustrate AI' option, select your image, and import it directly for further editing.
Supported Formats: We support three file formats for your convenience - PNG, JPEG, and SVG.
Navigating the Tools Panel
On the left-hand side of the interface, you'll find the Tools Panel, which includes a variety of tools to enhance your design process:

Text Tool:
Add textual elements to your design. Choose from a selection of fonts, adjust the size, and change colors through the text settings menu to match your design aesthetic.

Remove BG:
Effortlessly remove backgrounds with this powerful AI tool. Select the tool, click 'Remove', and watch as the AI cleanly extracts your desired foreground elements.


Library:
Access a vast library of elements or upload your own SVGs and designs. This favorite tool allows for extensive customization and creativity.

Magic Extend:
Extend your design's dimensions by adding prompts as needed. Note that the Magic Extend Pane is currently disabled for images with transparent pixels.

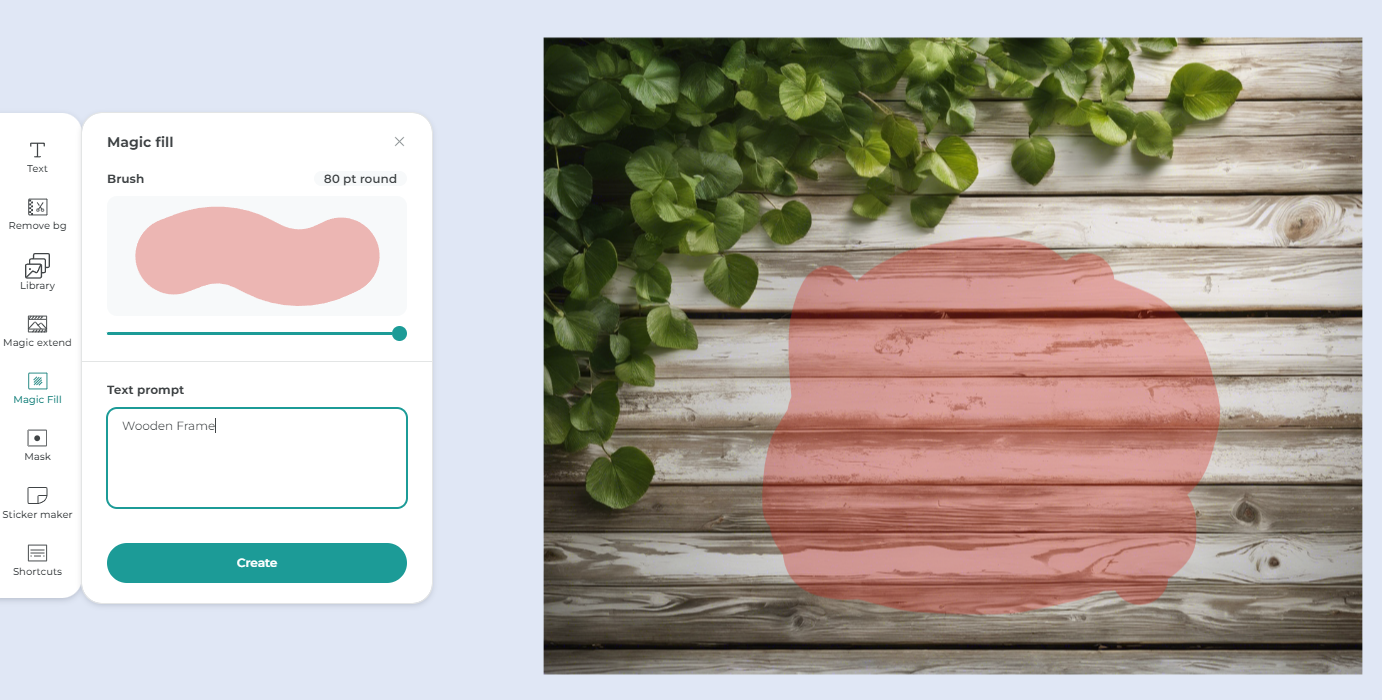
Magic Fill:
Employ this tool to add elements to specific areas of your design. Simply brush over the area where you want the object, and the AI will automatically fill it with the appropriate elements.

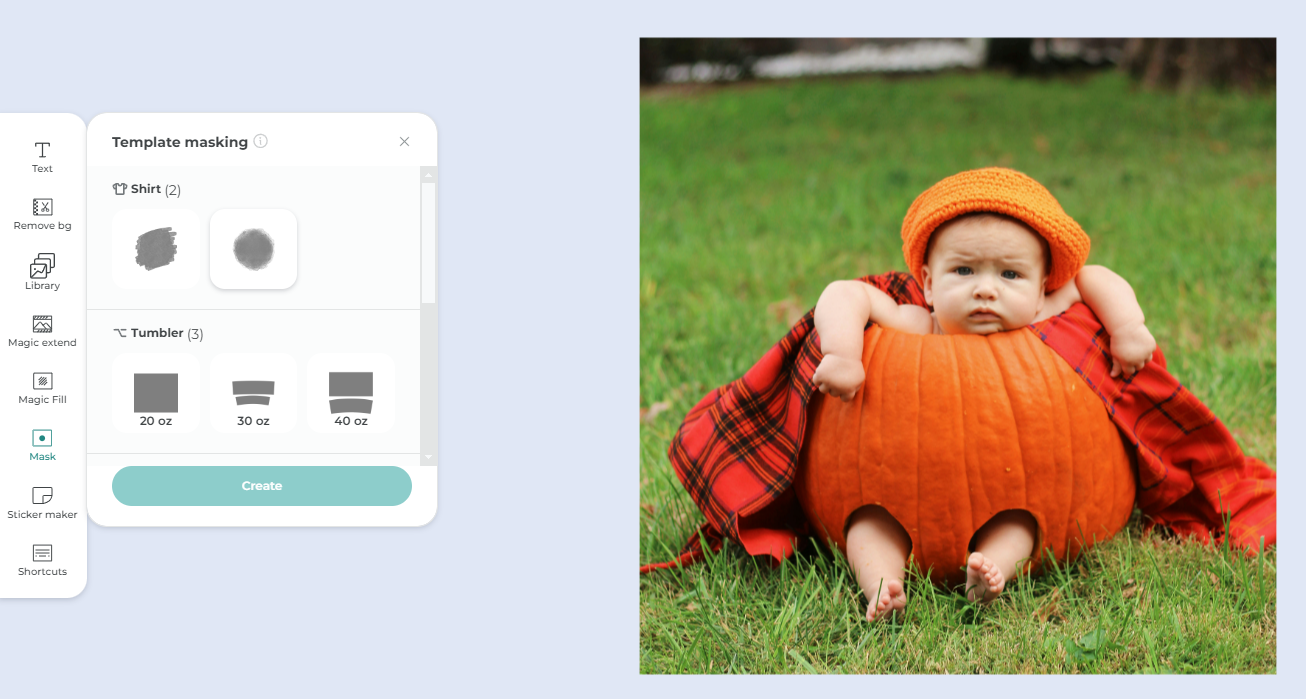
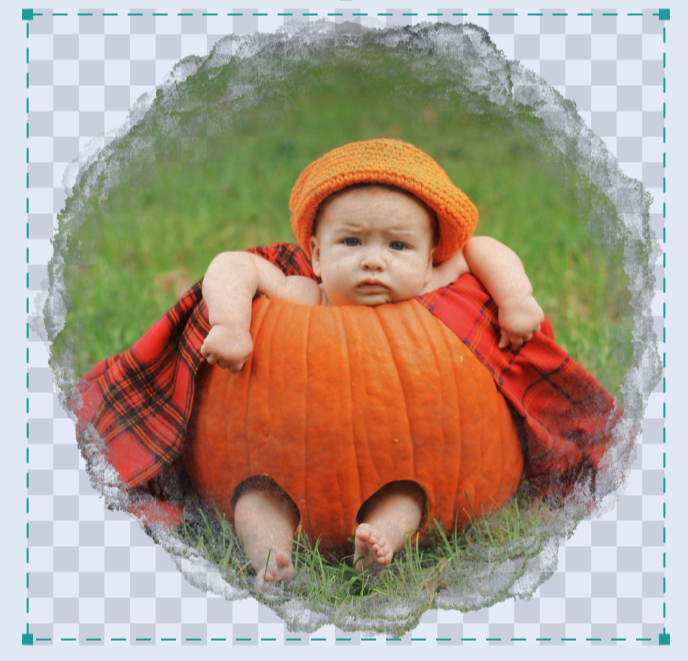
Masks:
Create masks using our pre-made templates, including options for T-shirts, tumblers, mugs, and various shapes. Convert your designs with just one click.


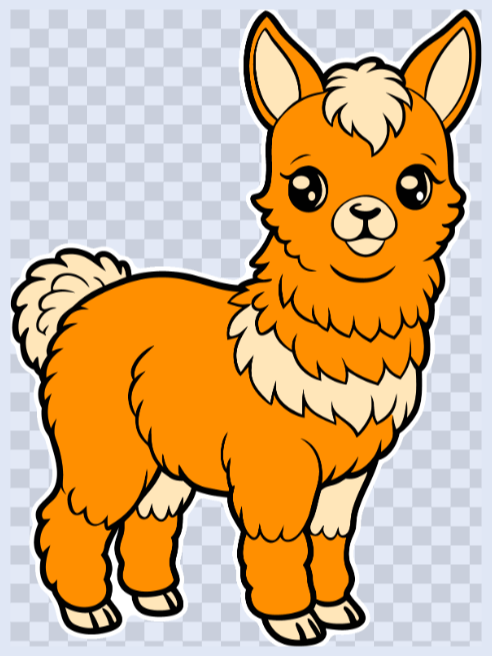
Sticker Maker:
This user-friendly tool helps you create bordered stickers. Adjust border details and color to suit your design.


Layers:
A crucial component of design, the layer panel is located at the bottom left. Here, you can manage and adjust the layers, enhancing control over the intricate details of your project.

By familiarizing yourself with these tools, you'll be well-equipped to create stunning, professional designs with Craft Designer. Enjoy your creative journey, and don't hesitate to reach out if you have any questions along the way.